

This is a guide on how to use the 3d printed shell cutting guide to trim a Game Boy Color style cartridge shell. This is how I do it, but of course there are other approaches you could take.
The files for the 3d printed cutting guide are available on the Downloads page.
This guide is specific to Game Boy Color cart shells, in particular the high quality ones available from insideGadgets and many other sources, known as the "Cloud Game Store" shells. You can trim traditional DMG style shells as well, but the 3d printed cutting guide will not fit, and you will have to remove more plastic from the top shell piece.
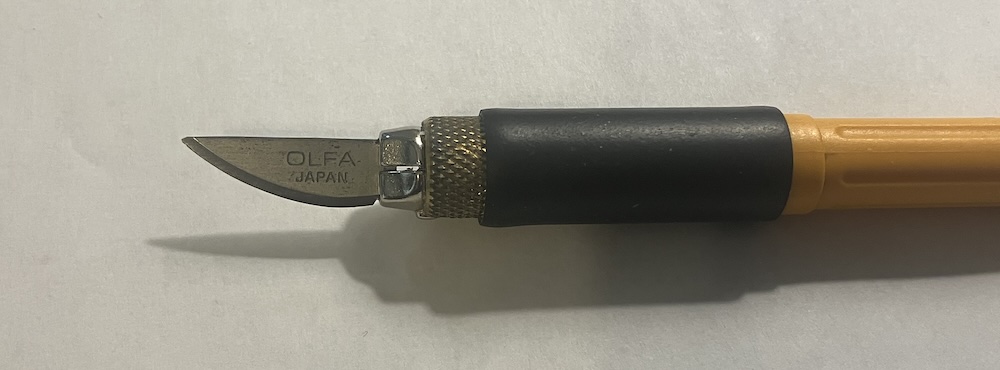
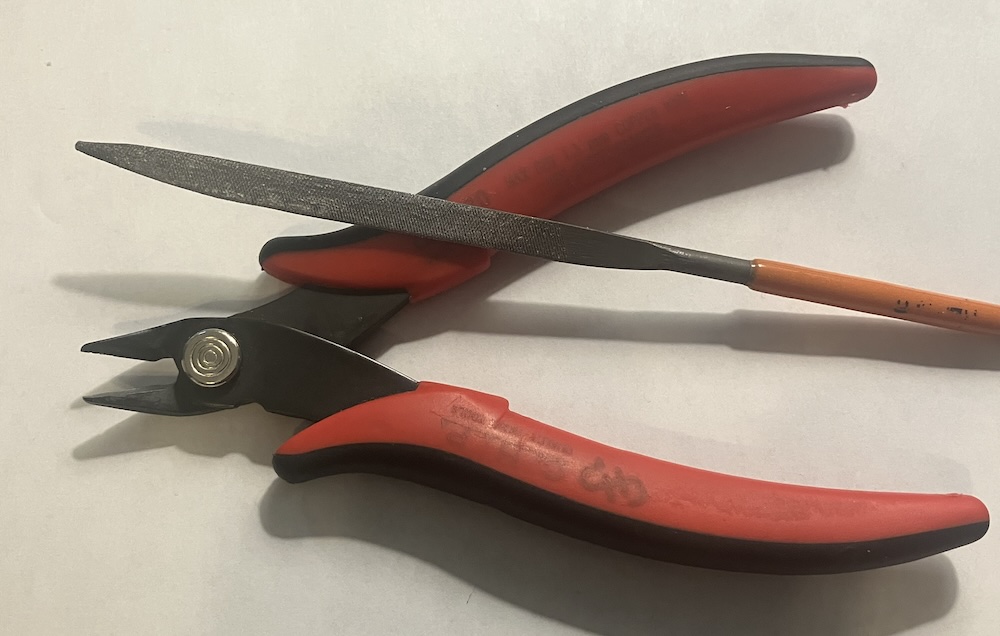
The only tool you absolutely need for trimming the shell is a sharp craft knife. However, I also recommend using a small file to fine tune the fitment, as well as produce a cleaner looking result. A pair of flush cutters is also very useful to speed up the process, especially with the cutting of the top shell. But you can achieve a great result solely with a sharp craft knife, if you take your time.
CAUTION: Please be careful with the craft knife. It is possible to seriously injure yourself with one. Use a sharp blade, and cut away from your body whenever possible.
This guide will begin with trimming the bottom shell piece, which is the easier of the two parts. For this part, I'm only using the craft knife for the example photos. If you have a file, it would be useful for final adjustment and cleanup.
Place the cutting guide into the shell, it should fit nicely between the two little tabs on the shell and the top wall.
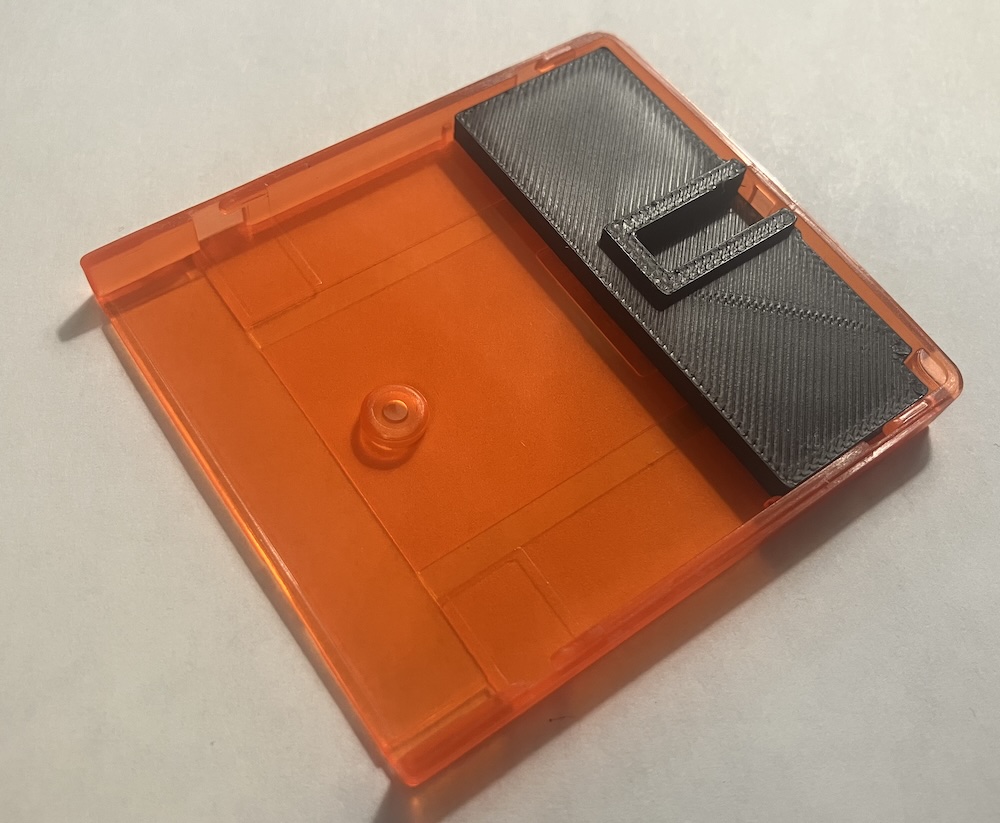
Holding the knife blade against the guide, roll it over the back wall to create a guide line for future cuts. Do this on both sides of the guide.
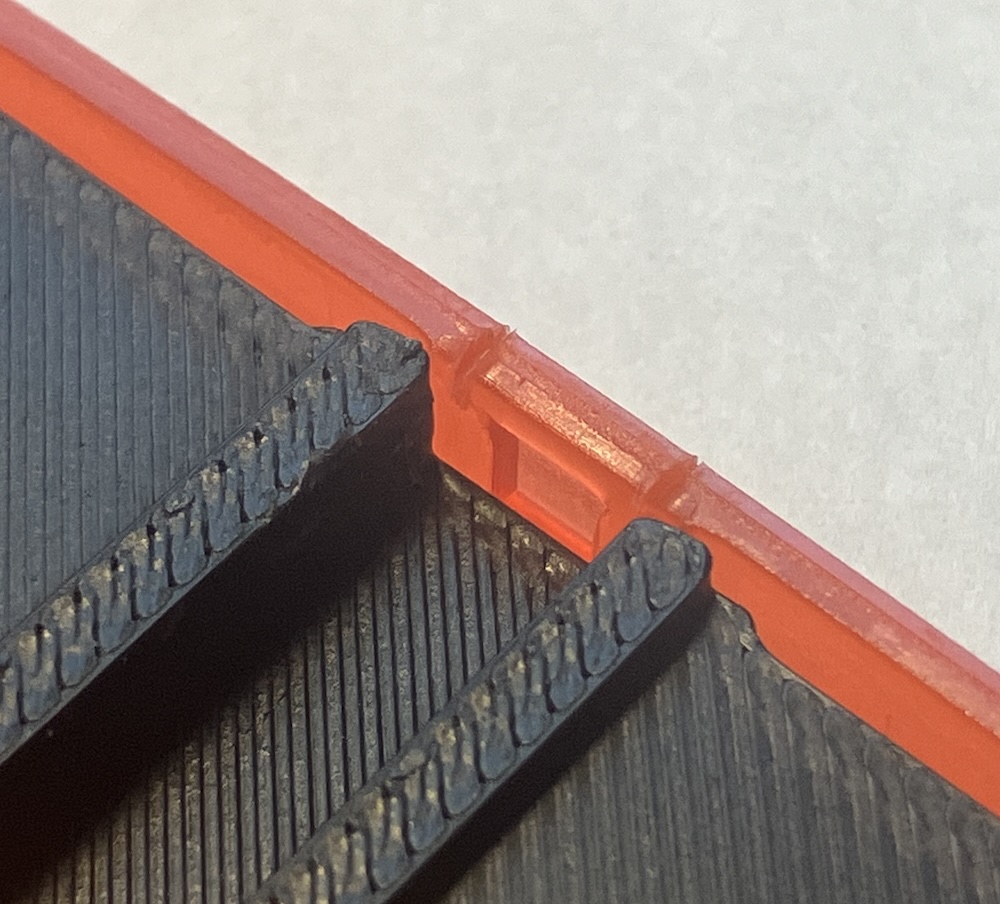
Slice the plastic down using the score marks as a guide. I like to slice a triangle down from one score mark, then slice straight down on other mark to remove material. Continue until you've cut the plastic flush with the cutting guide. Use the sides of the guide to clean up all the walls and produce a nice square cutout. Alternatively, if you have an appropriate file, you can use that here to make the correct slot.
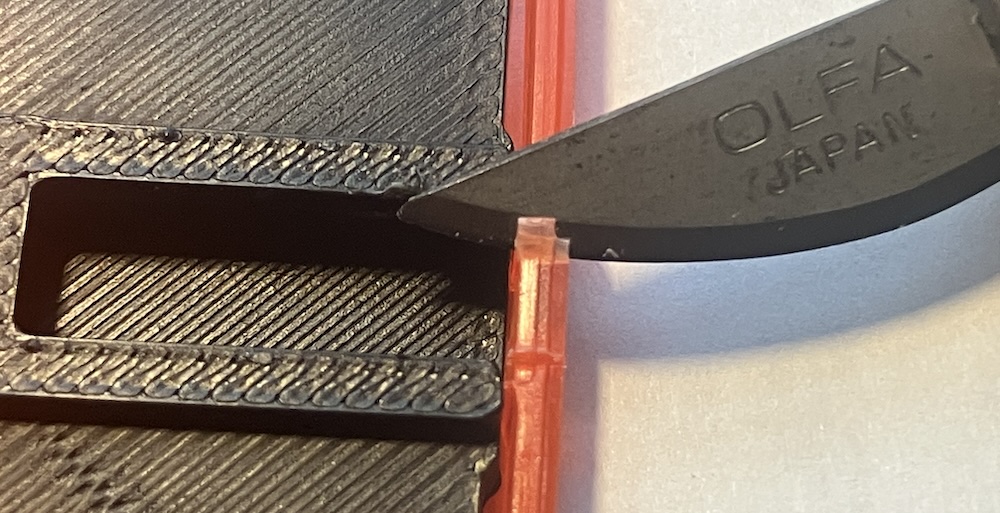
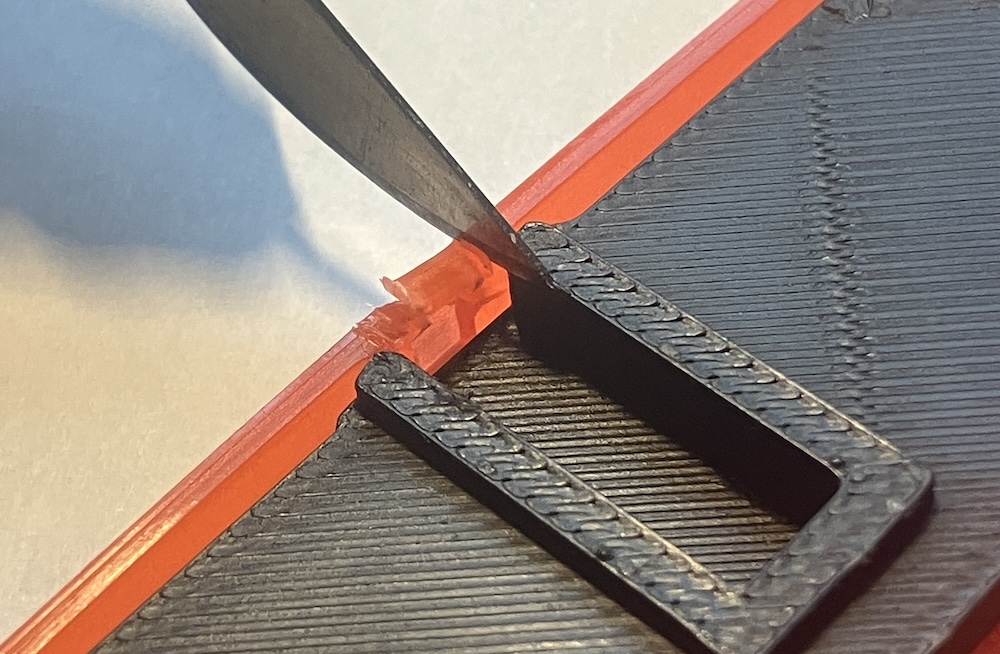
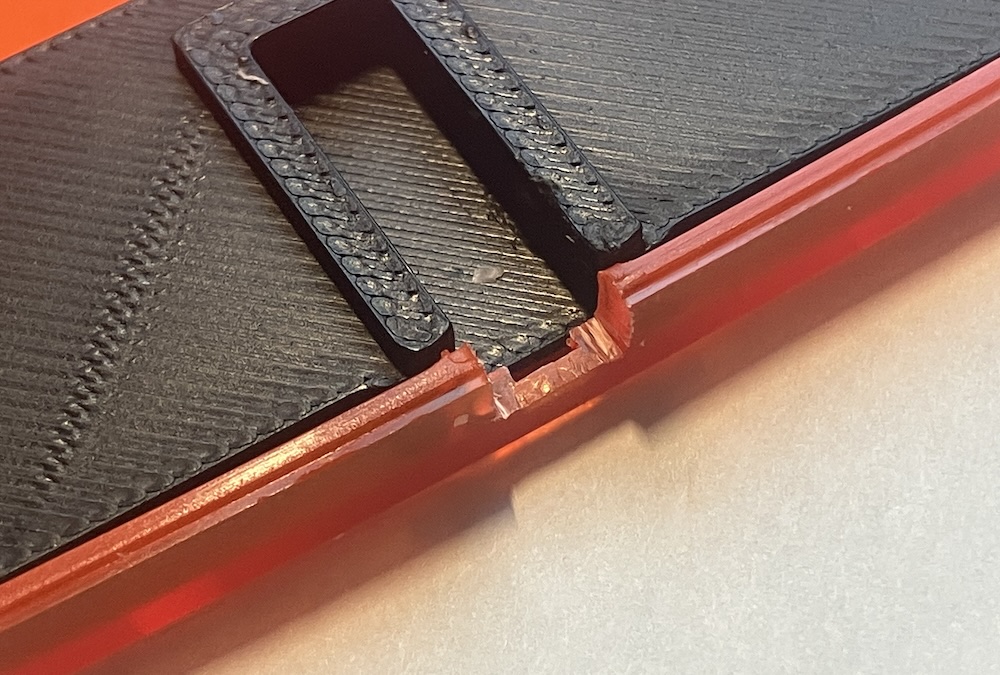
Remove the guide, place the circuit board in the shell, and ensure everything fits nicely. Make any small additional cuts (or use a file) to achieve a nice fit. The back of the cutting blade can be used as a gentle scraper to clean up edges.
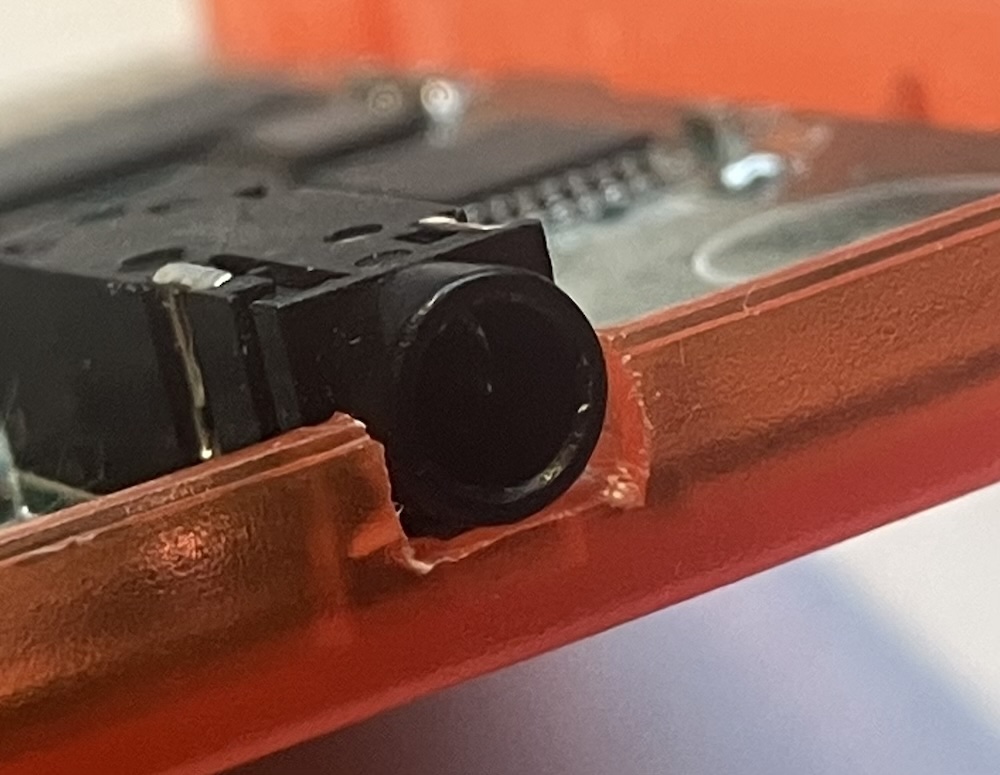
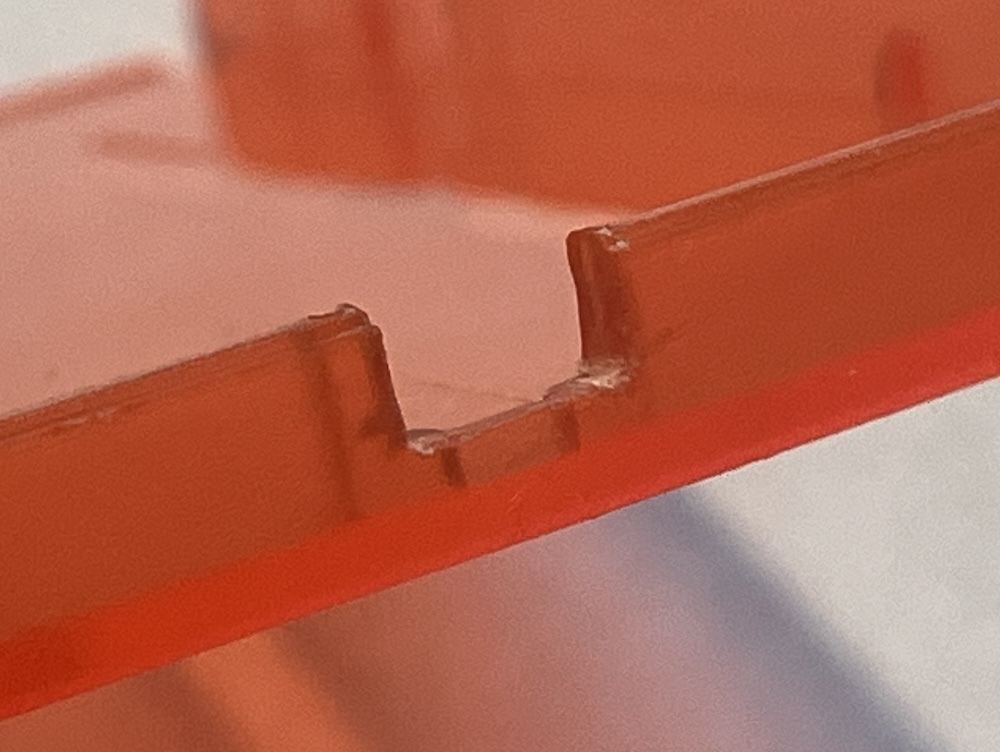
Next let's do the top shell piece.
Place the cutting guide into the shell, it should fit nicely between the two little tabs on the shell and the top wall. The protruding nub should be facing down into the "Game Boy Color" bump.
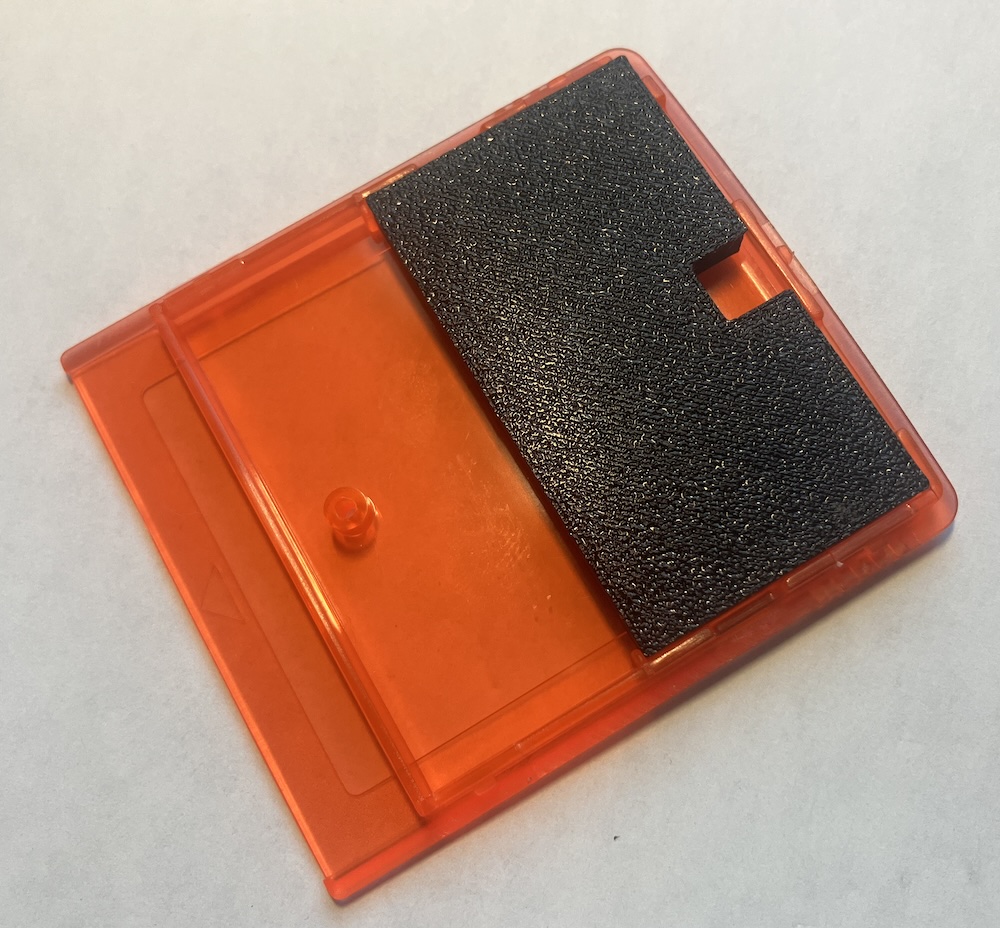
Similar to the bottom shell, rock the knife against the wall of the cutting guide in order to put score marks on the wall.

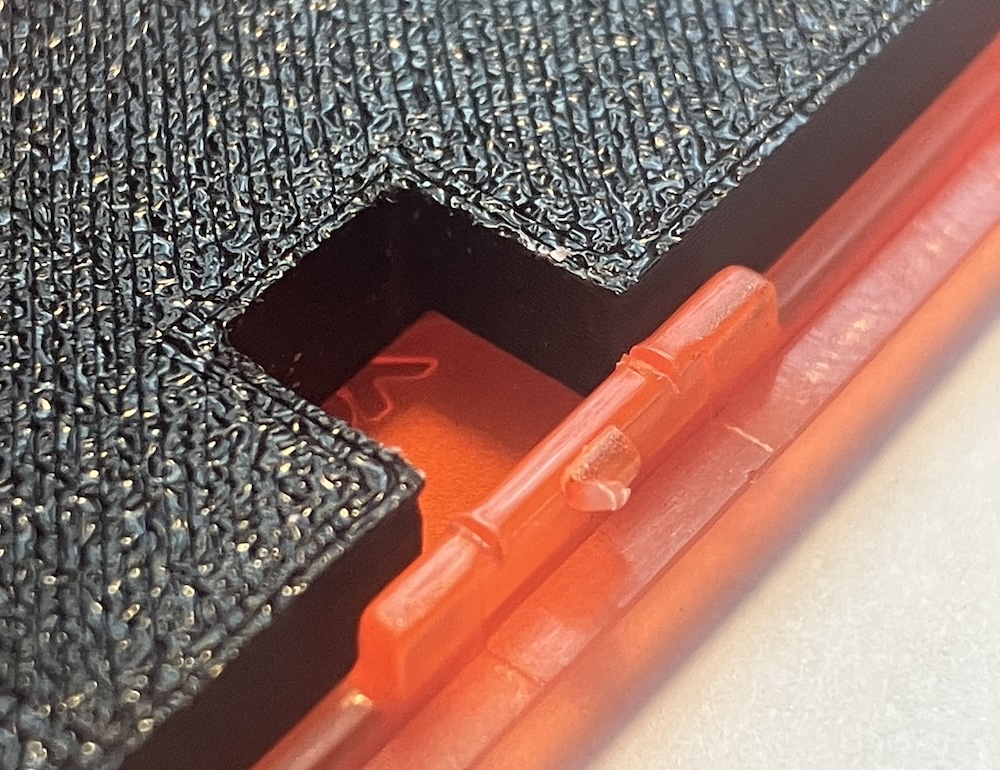
Using the same technique as the bottom shell, cut the wall down flush to the top of the shell.
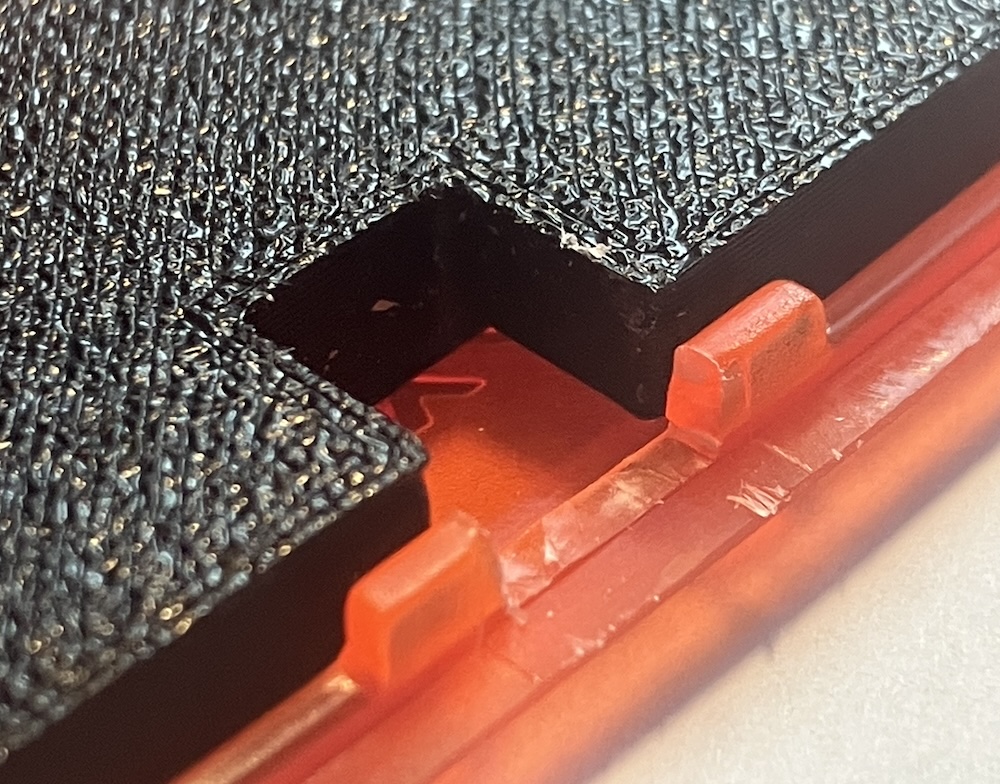
Use the rocking technique again, score the edges of the shell. Then, completely score the outline of the cutout.
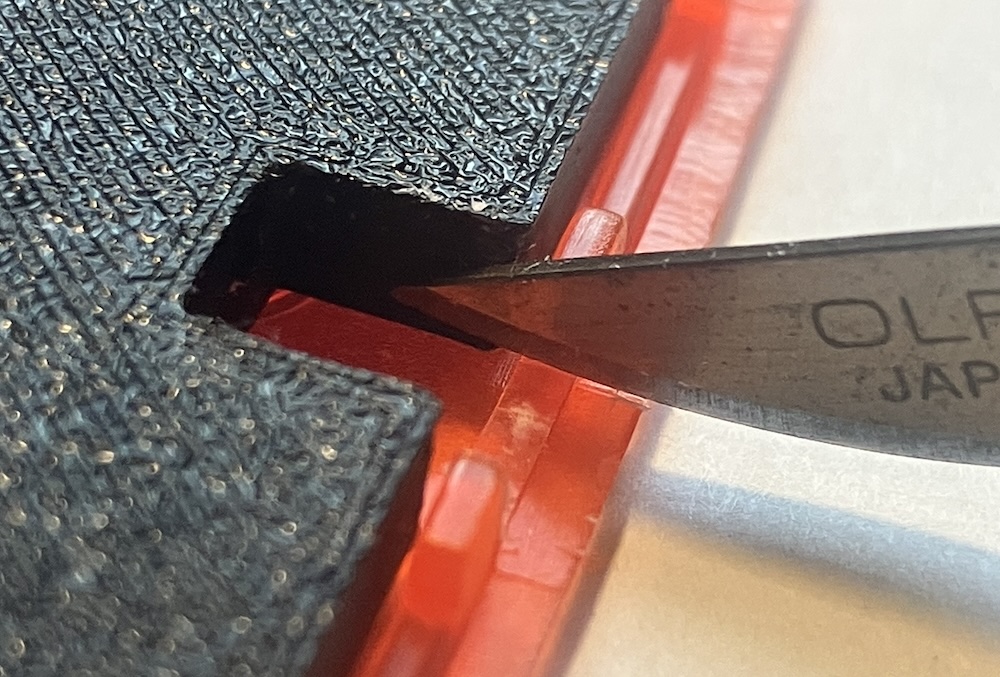
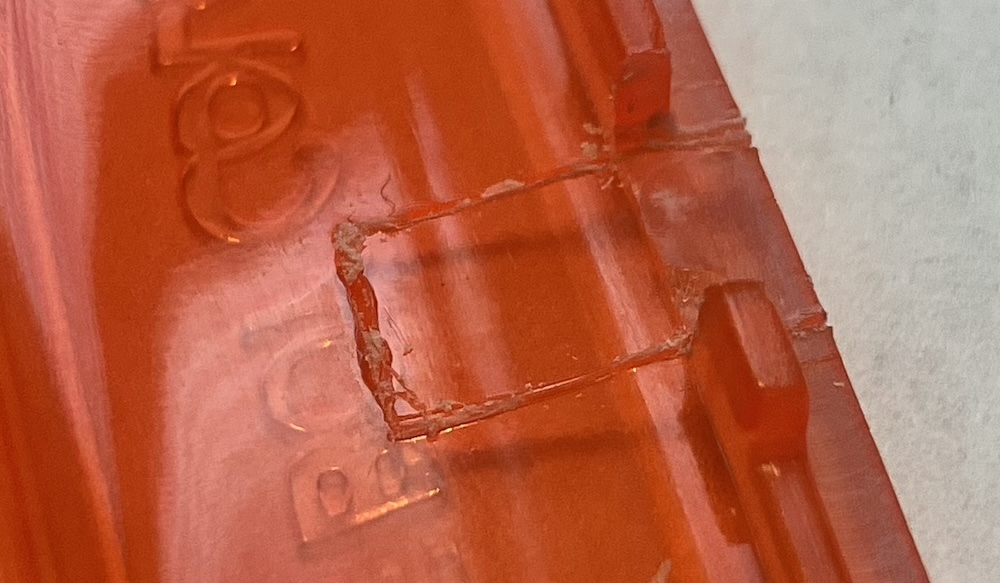
Time to remove the rest of the plastic! There are multiple ways to do this. My preference is to use flush cutters to remove most of the material in the center, then use the knife to cut the remaining material out cleanly.
If you don't have a flush cutter, you can use the same triangle slicing technique used in sections above to remove the material. Another option - continuously slice along the score lines, making them deeper and deeper, until the entire piece of plastic can be removed.
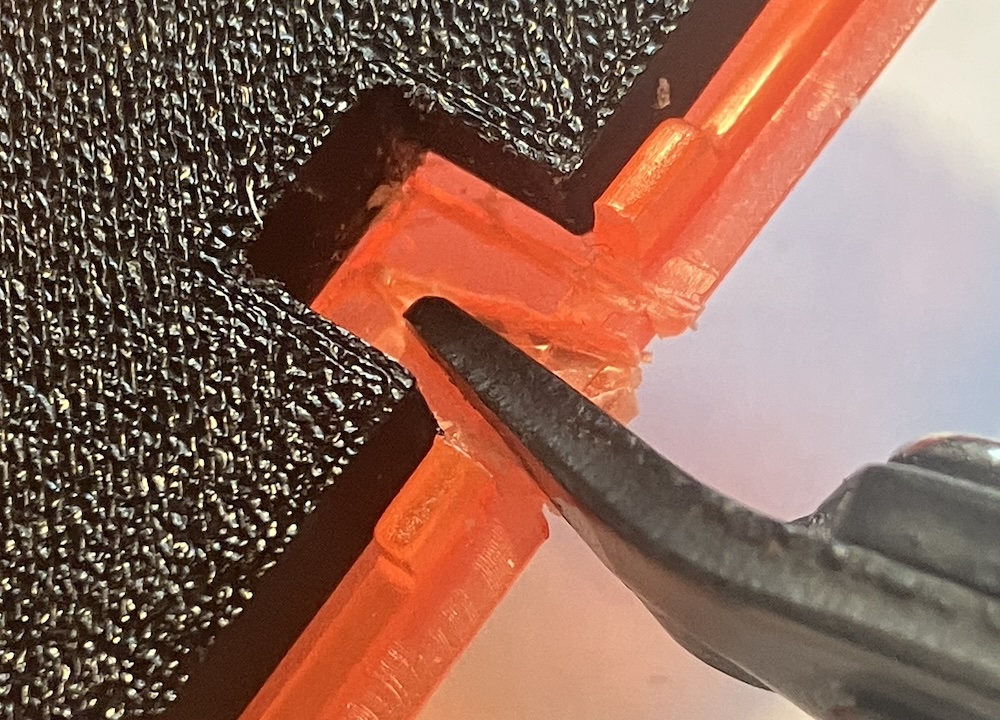
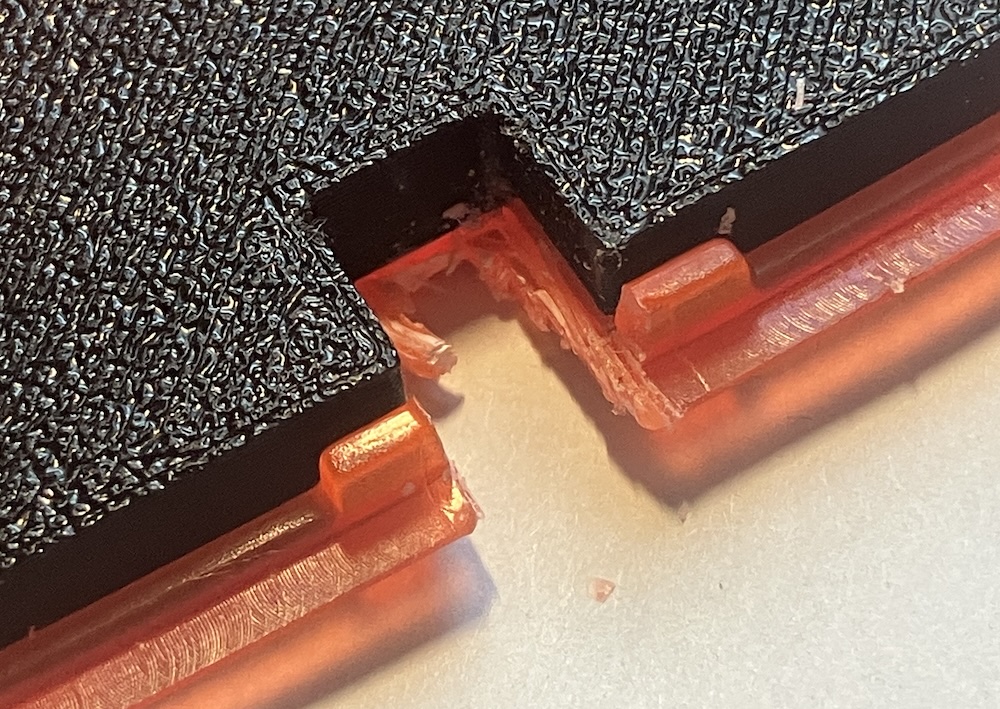
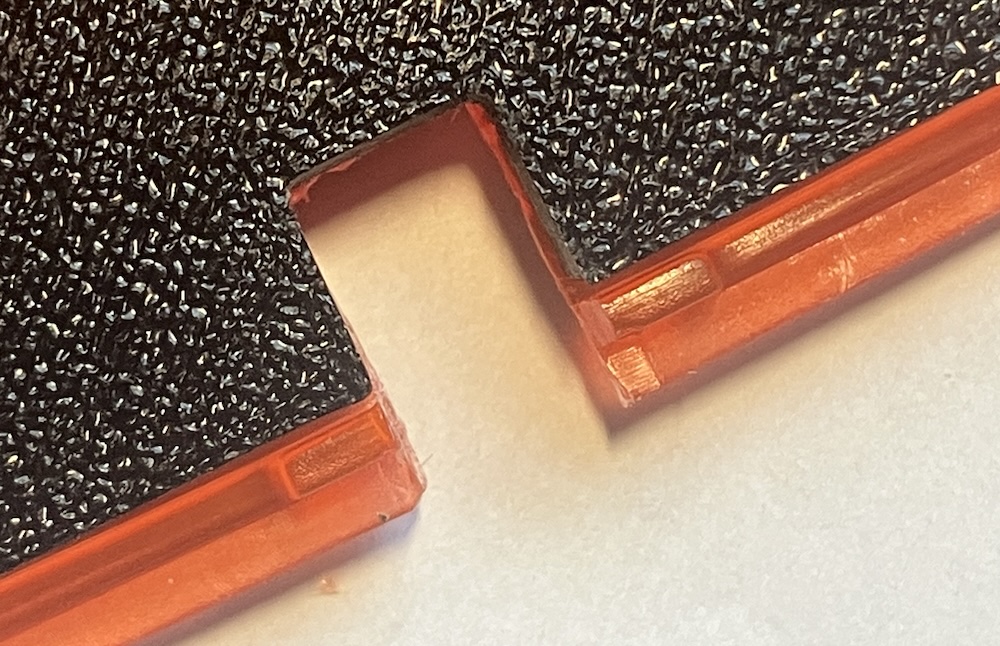
Remove the guide, and fully assemble the top and bottom pieces of the shell with the circuit board. Note where the shell might not be fitting correctly, and perform any clean up with the knife or a small file.

At this point you should be finished cutting your shell!